How to Iron a Suit Perfectly at Home
Columbia Pike Laundry offers pickup & delivery across Northern Virginia.
Knowing how to press your own suit is one of those skills that pays for itself almost immediately. It’s not just about zapping wrinkles; it's about restoring the shape and life to the fabric. With the right approach—which boils down to having the proper tools, prepping the suit correctly, and following a specific order—you can get a crisp, professional finish right at home.
It’s a skill that saves you from last-minute panic before a big meeting and keeps you looking sharp, always.
The Secret to a Perfectly Pressed Suit
We've all seen it: a beautifully tailored suit completely let down by a mess of wrinkles. A sharp press is what separates a good suit from a great one, projecting confidence and a keen eye for detail. The great news is you don’t have to sprint to the dry cleaner every single time a crease appears.
Learning how to iron a suit is about more than just heat. It’s a craft. You’re learning to work with the fabric, using steam and pressure to reshape the garment back to its original, structured glory. Think of it as a small investment of your time that yields a huge return in how you present yourself to the world.
Is DIY Ironing Right for You?
But before you plug in that iron, let's be realistic. Not every suit is a good candidate for a home-ironing job. If you're dealing with delicate materials like velvet or silk, or a heavily constructed blazer with complex padding, you're better off leaving it to the pros. Trying to tackle these without professional-grade equipment can easily lead to shiny spots, scorch marks, or a jacket that loses its shape for good.
For most suits made of wool, cotton, or a durable polyester blend, a careful at-home pressing is perfect for quick touch-ups between professional cleanings. It all comes down to knowing the limits of your fabric and your tools.
A well-pressed suit is like a firm handshake—it conveys confidence and respect without saying a word. It’s the final touch that completes your professional armor, ensuring you look as capable as you feel.
DIY Ironing vs Professional Pressing at a Glance
So, should you do it yourself or call in the experts? Sometimes the answer isn't obvious. This quick table breaks down the key differences to help you decide.
| Aspect | DIY Suit Ironing | Professional Pressing (Columbia Pike Laundry) |
|---|---|---|
| Best For | Quick touch-ups, minor wrinkles on durable fabrics (wool, cotton). | Stubborn creases, delicate fabrics, special occasion prep. |
| Equipment | Home steam iron, ironing board, pressing cloth. | Industrial-grade steam presses and form finishers. |
| Risk Factor | Moderate risk of shine, scorching, or flattening fabric if done improperly. | Virtually no risk; handled by trained experts. |
| Time | Can be time-consuming (20-30 minutes per suit). | Fast and convenient, especially with pickup/delivery. |
| Cost | Free (aside from initial tool cost). | A professional service fee per garment. |
| Result | Good for maintenance, but may lack a truly sharp, professional finish. | Flawless, crisp finish that restores the suit's structure. |
Ultimately, weighing the convenience, risk, and desired result will point you in the right direction. Both approaches have their place in smart wardrobe management.
When to Choose Professional Pressing
Honestly, sometimes the best move is to step away from the ironing board and let a professional take over. It’s the right call when:
- You’re out of time. Properly pressing a full suit requires patience. If you have an important event tomorrow, a professional service is your ticket to a perfect finish without the stress.
- The suit was a big investment. Don’t risk your high-end or bespoke suit. Professionals have specialized equipment, like commercial presses and forms, designed to handle valuable garments safely.
- You're fighting stubborn wrinkles. Those deep-set creases from a packed suitcase or long-term storage are tough to beat with a standard home iron.
Making the call between DIY and professional care is all about balancing convenience, cost, and risk. To get more comfortable with the basics, our guide on wrinkle-free pressing basics is a great place to build your fundamental skills.
Whether you press it yourself or trust a service like Columbia Pike Laundry, the goal is always the same: a suit that looks incredible and makes you feel ready for anything.
Gathering Your Tools for a Flawless Finish
Before you even think about plugging in the iron, let's talk about your setup. Trying to press a suit with the wrong equipment is a surefire way to end up with a shiny, scorched, or misshapen mess. A little prep work here will save you a world of hurt later.
Think of it as your workstation. Having everything you need within arm’s reach is key. It stops you from leaving a hot iron face-down while you hunt for a spray bottle or realizing halfway through a sleeve that you don't have the right tool for the job. Get this right, and you're already on your way to a sharp, professional finish.
Your Essential Ironing Toolkit
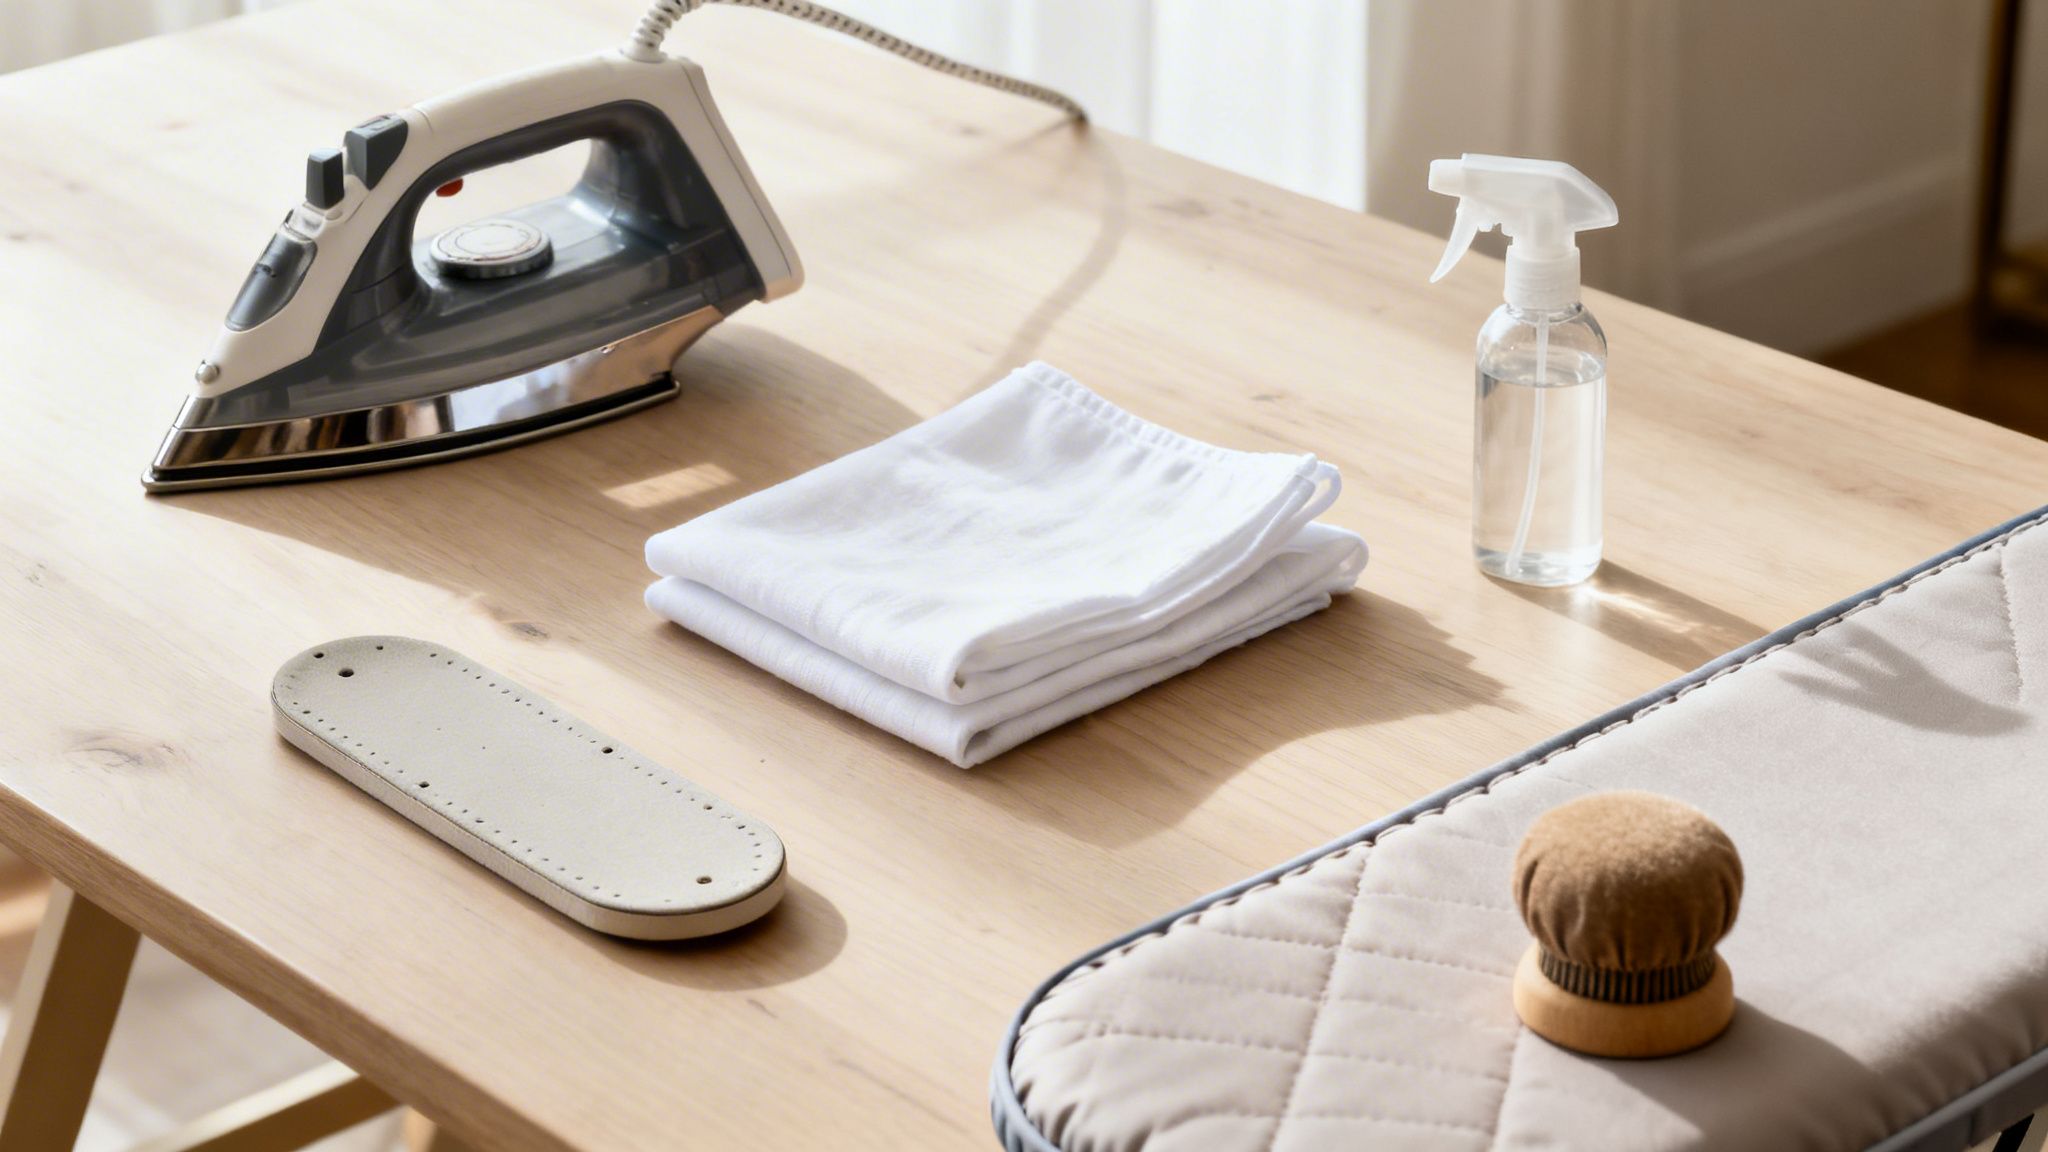
You'll need more than just an iron and a flat surface to do this properly. Each one of these items has a specific job in protecting your suit's fabric and structure.
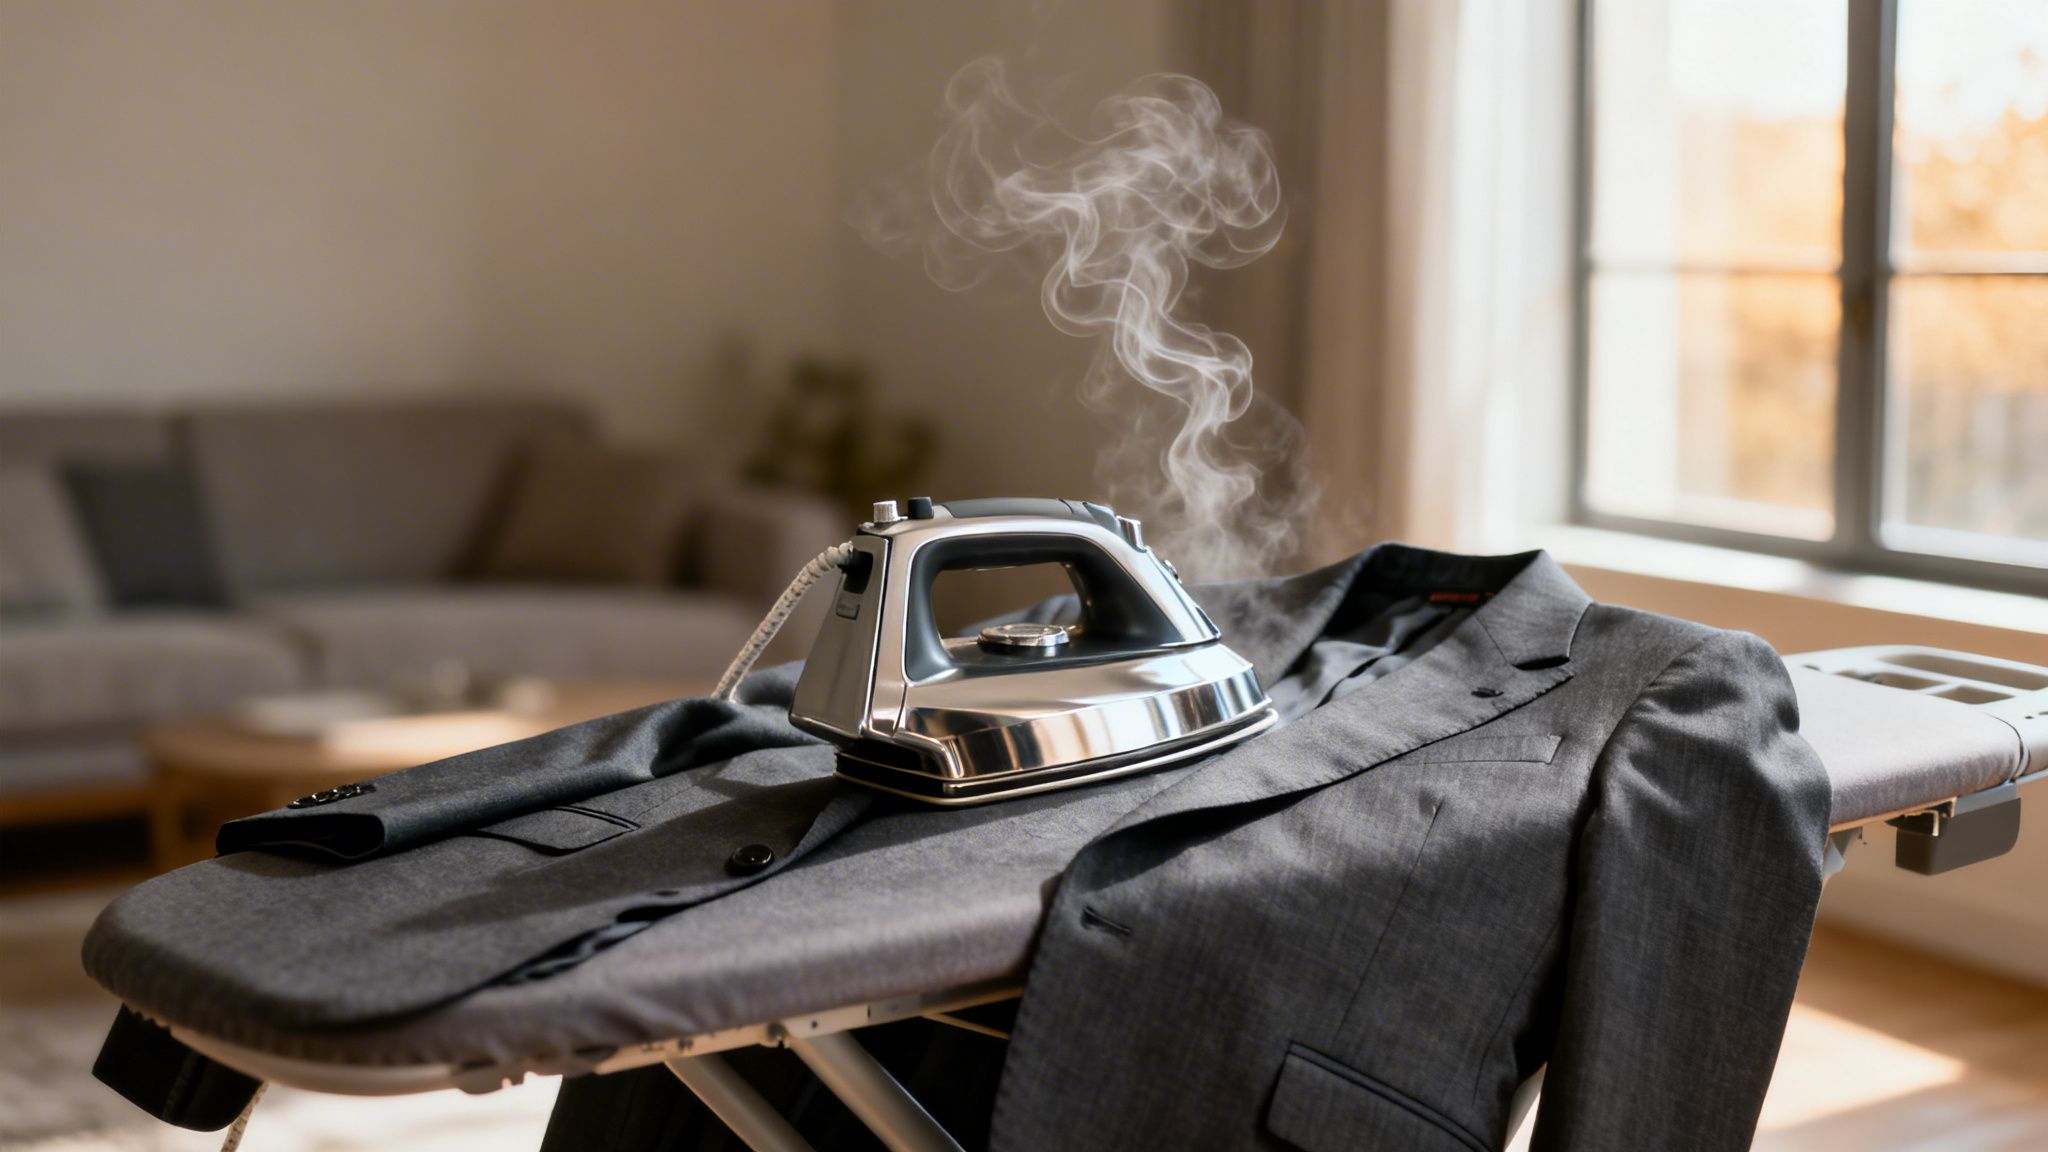
- A High-Quality Steam Iron: This is the most important tool in your arsenal, hands down. A good steam iron relaxes fabric fibers with powerful bursts of steam, meaning you don't have to rely on scorching-hot direct heat.
- A Sturdy, Well-Padded Ironing Board: A wobbly board is an accident waiting to happen and makes getting an even press nearly impossible. Make sure yours is stable and has a clean, thick cover to provide a smooth, cushioned surface.
- A Pressing Cloth: This is non-negotiable. Never let a hot iron touch your suit fabric directly. A simple, clean, 100% cotton cloth (like a tea towel or handkerchief) acts as a crucial barrier, spreading heat and steam evenly while preventing shine.
- A Spray Bottle with Distilled Water: For those really stubborn wrinkles, a fine mist of water gives the steam a helping hand. Always use distilled water to avoid mineral deposits that can clog your iron and stain your suit over time.
There's a reason we emphasize a good steam iron. The global market for clothing irons hit USD 1.6 billion in 2023 and is projected to reach USD 3.4 billion by 2033, with a 7.9% CAGR. It’s no surprise that steam irons command 52.3% of that market—their ability to penetrate thick suit fabrics like wool is simply unmatched by dry irons.
Advanced Tools for a True Tailor-Quality Finish
Once you have the basics covered, a few extra pieces of gear can take your pressing from good to truly exceptional. These are the tools professionals use to handle the specific curves and shapes of a tailored garment.
A sleeve board is a game-changer. This tiny, freestanding ironing board is perfect for getting inside sleeves and trouser legs, letting you press them perfectly without creating new creases on the other side.
The real secret weapon for a professional press is a tailor's pressing ham. This dense, curved cushion lets you press areas like shoulders, lapels, and collars while maintaining their three-dimensional shape. It's what keeps a suit from looking flat and lifeless.
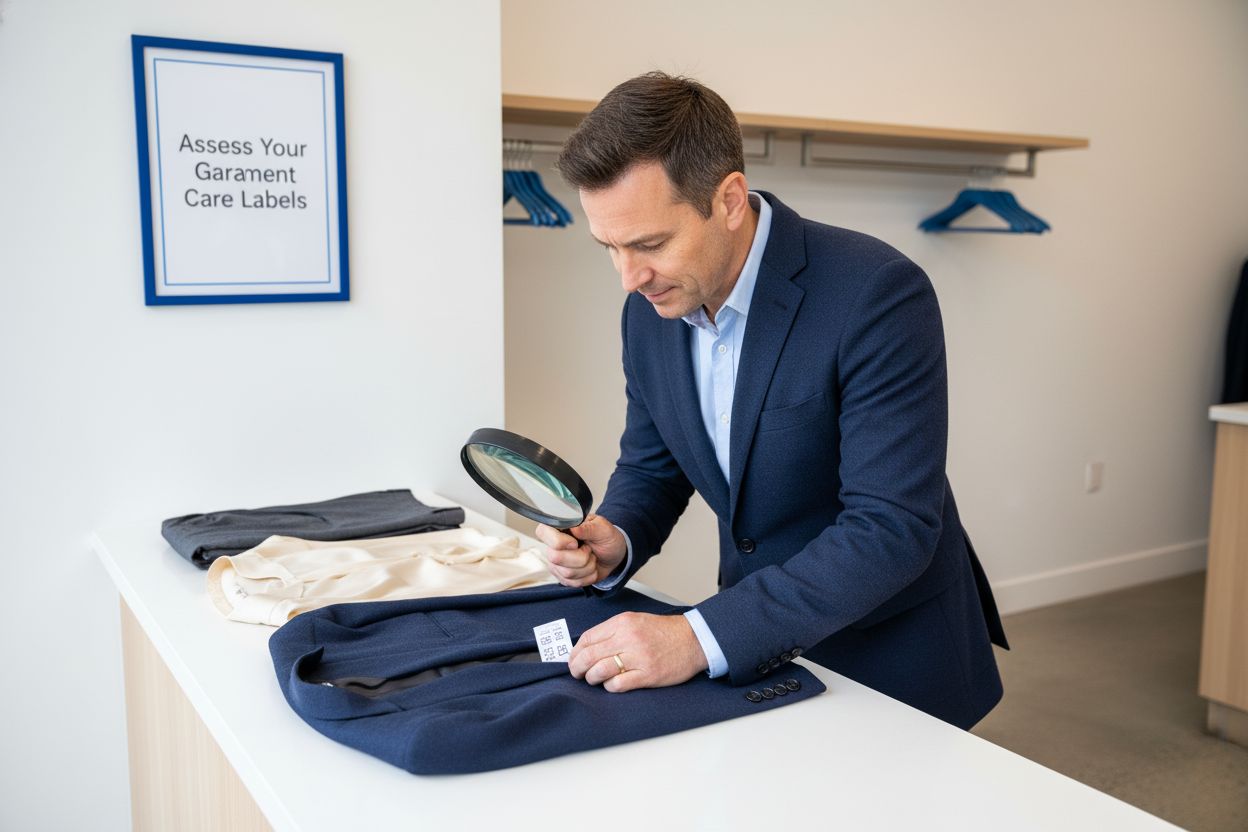
And finally, the most important step before you start: check the care label. Knowing what your suit is made of is absolutely critical for choosing the right temperature. If you need a refresher on what those little symbols mean, our guide on how to read clothing care labels is a great place to start.
Your Guide to Ironing a Suit Jacket
The jacket is honestly the most intimidating part of the suit to press at home. It’s not just flat fabric; you're dealing with structure, padding, and curves that all need to be handled just right. But don't let that scare you off. With the right technique, you can get a great result without damaging your investment.
The secret is all in the sequence. You have to work from the smaller, detailed areas out to the larger panels. If you do it the other way around, you’ll just end up wrinkling the parts you’ve already perfected. A good rule of thumb is to start with the jacket inside-out and never, ever let the iron sit still.
Prepare the Fabric First
Before you even plug in the iron, a little prep work goes a long way. First, give the jacket a once-over to make sure it's completely clean. Ironing over a tiny, unnoticed spot can bake the stain right into the fibers, making it permanent.
Next, do a quick heat test. Find an inconspicuous spot, like the inside of a flap, and press it for a second. This is the best way to be 100% sure your temperature setting won't create that awful shiny look or cause discoloration.
Finally, lay your pressing cloth over the section you're about to iron. This is non-negotiable. That simple piece of fabric is the only thing standing between the hot iron and your suit, and it's your best defense against a shiny, amateur-looking press.
I always tell people to think of it like building a house—you start with the foundation, not the roof. For a suit jacket, that foundation is the collar and lapels. Nail those, and the rest of the job becomes much easier.
Mastering the Collar and Lapels
The collar and lapels frame your face, so you want them looking sharp. I always start by turning the jacket inside-out and pressing the underside of the collar first. Just lay it flat on the board and use smooth, gliding motions.
Then, flip the jacket right-side-out, cover the collar with your pressing cloth, and press it again. The goal here isn't a razor-sharp crease where the collar folds. You're looking for a soft, natural roll, so go easy on the pressure.
For the lapels, work your way up from the bottom button towards the "roll line," which is where the lapel naturally folds over. Just like the collar, press the underside first, then flip and do the top side through your cloth. This technique keeps the edge crisp without flattening the lapel's gentle curve.
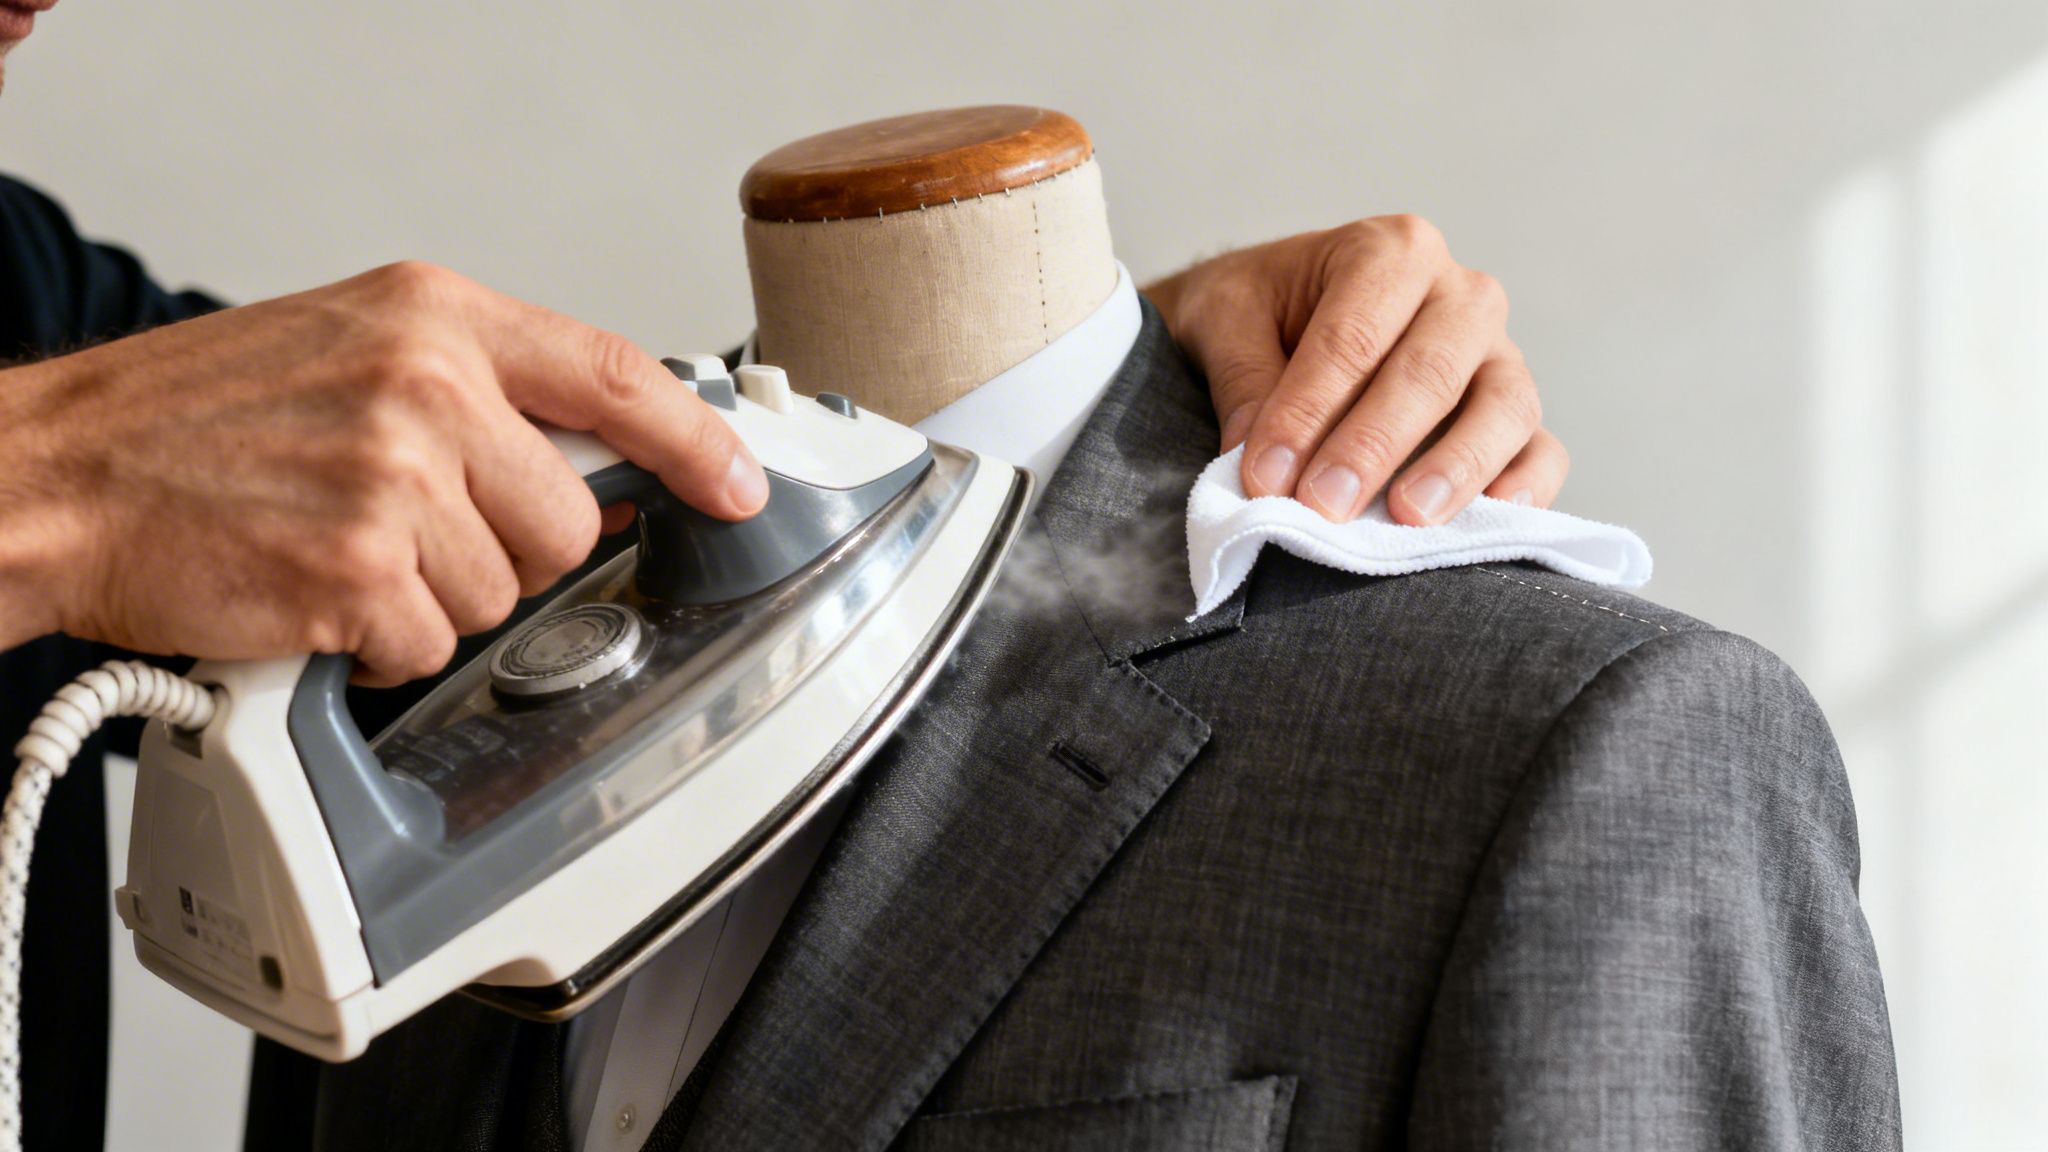
Shaping the Shoulders
The shoulders define the jacket's entire silhouette, so you have to be careful here. This is where a tailor's ham really proves its worth, since its curved shape mimics a real shoulder. If you don't have one, a tightly rolled-up bath towel is a fantastic substitute.
Drape the shoulder area over your ham or towel. This supports the fabric and allows you to press out wrinkles without crushing the padding and structure that a tailor worked so hard to build in.
Use light pressure and short bursts of steam to gently smooth the shoulder cap. You’re just trying to remove wrinkles while preserving that three-dimensional shape. Rushing this part is what leads to that flat, lifeless look you want to avoid.
Pressing the Sleeves
Sleeves can be a headache because you're essentially trying to iron a fabric tube. If you have one, a sleeve board makes this a breeze. It lets you press one side without creating a new crease on the other.
No sleeve board? No problem. Here’s a workaround I use all the time:
- Stuff the sleeve. Roll up a small towel and slide it inside the sleeve. This gives you a rounded surface to press on, which is the key to avoiding those unwanted tramline creases.
- Press the middle. Lay the sleeve flat and focus on ironing the center portion, staying away from the edges. Then, just rotate the sleeve and repeat on the other side.
- Be careful at the cuff. Give the cuffs some attention, but press around the buttons, not over them. Direct heat can easily crack or melt buttons and damage the fabric underneath.
It takes a bit more patience, but this careful approach gives you a perfectly smooth sleeve without any awkward, ironed-in lines.
Tackling the Front and Pockets
With the details handled, you can move on to the larger front panels. Lay one side of the jacket front flat on the ironing board, using your hand to smooth it out before you bring in the iron.
Work carefully around the pockets. I press the pocket flap itself first, then gently press the area around the pocket opening. Never iron directly over a pocket that has anything in it—you'll end up with a permanent, visible outline of whatever's inside.
Use long, smooth strokes from the top of the panel to the bottom, and make sure you're always using your pressing cloth. Repeat the whole process on the other front panel.
The Final Step: The Back
You’re almost there! The back of the jacket is usually the easiest part since it’s just a large, flat surface. Some jackets have vents at the bottom, but that's easy to manage.
Lay the back of the jacket flat on the board and press the main body with those same long, gliding motions you used for the front. If you have a single or double vent, just press each side of the vent flap on its own.
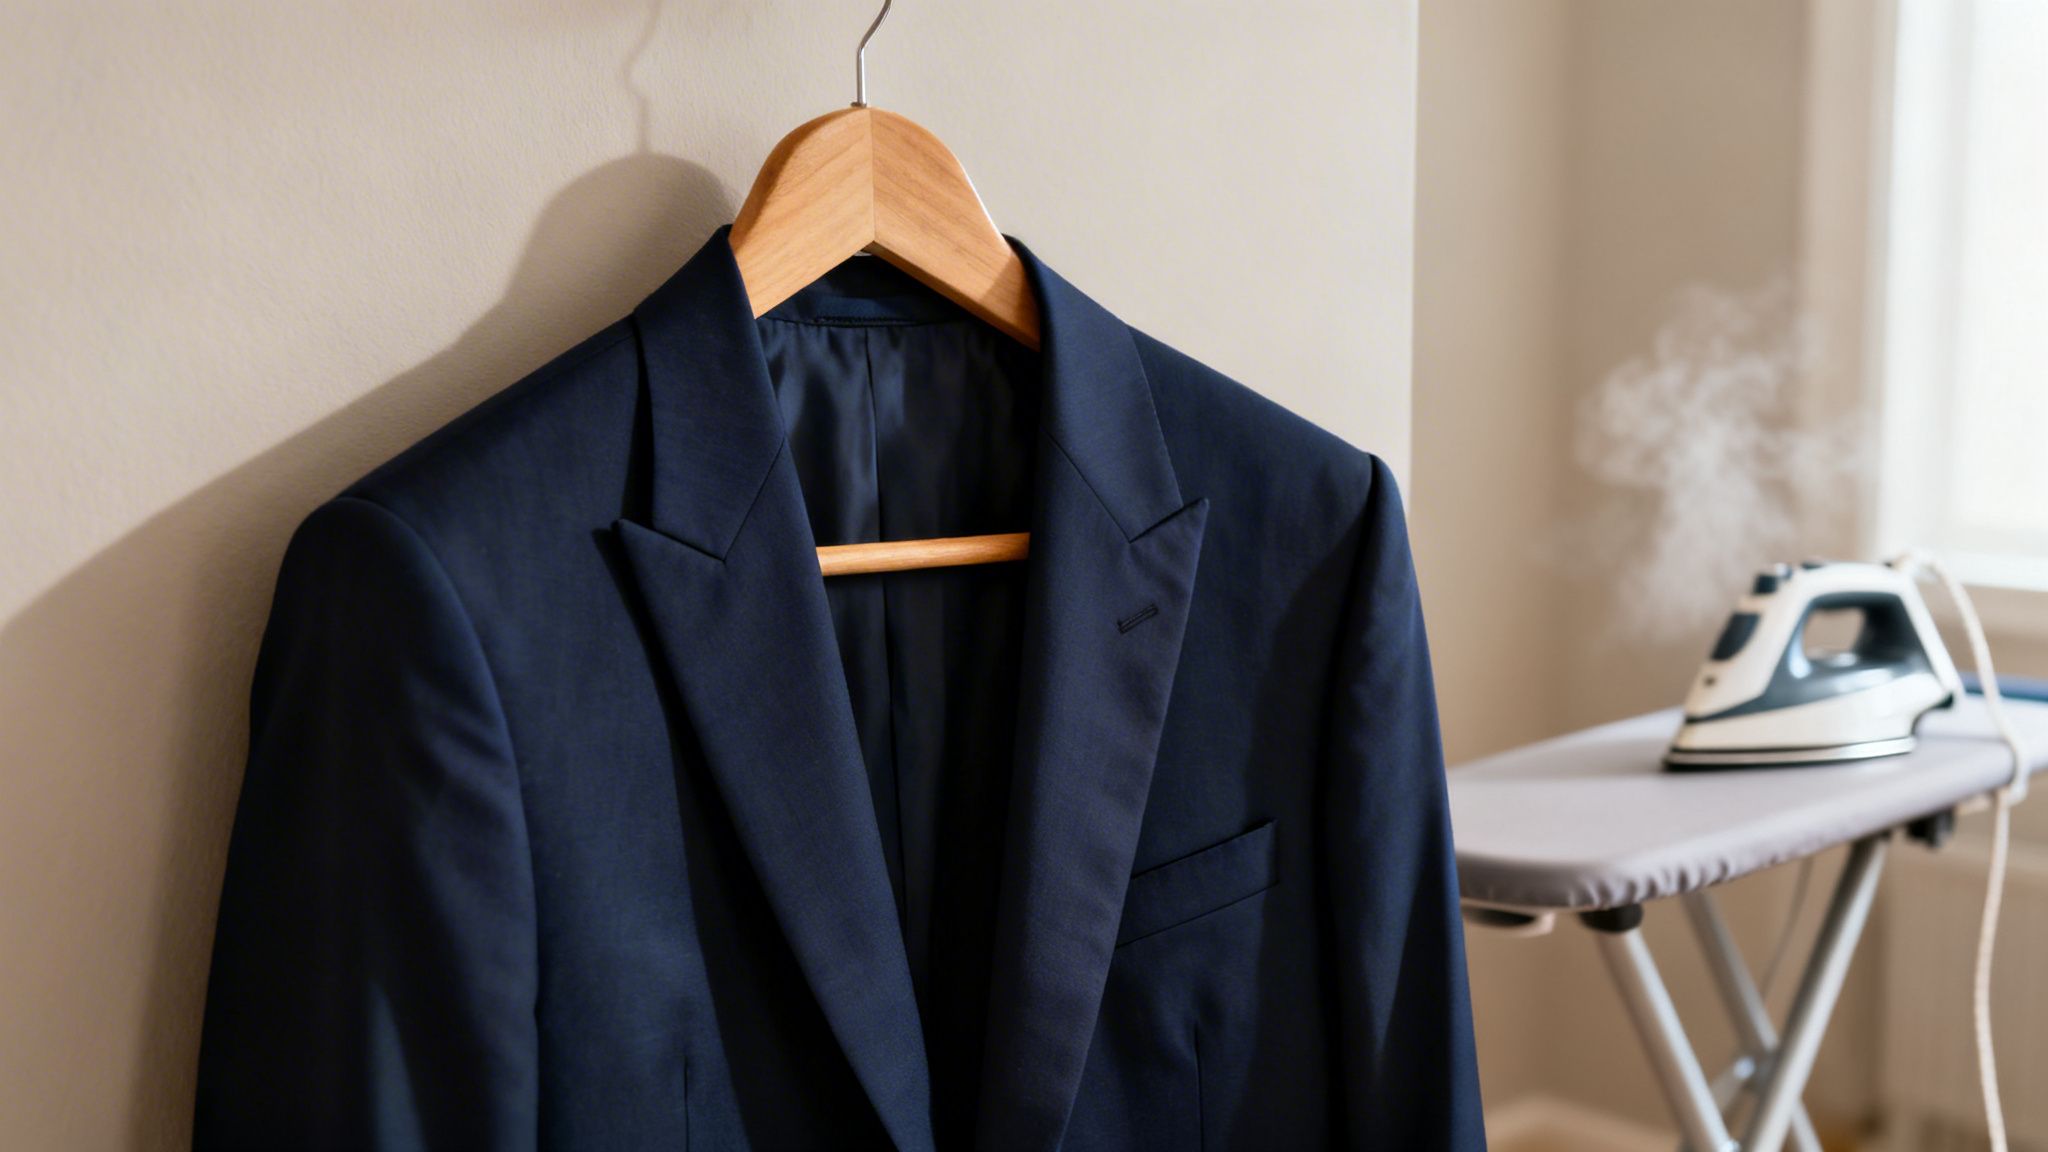
As soon as you’re finished, hang the jacket up on a proper, wide-shouldered hanger. This is absolutely critical. A thin wire hanger will cause shoulder bumps and ruin all your hard work. Let the jacket hang and cool for at least an hour before you wear it or put it away. This gives the fibers time to cool and set, locking in that sharp, flawless finish.
Mastering the Art of Pressing Suit Trousers
While a suit jacket presents a challenge with all its curves and structure, well-pressed trousers come down to one single, defining feature: that crisp, sharp crease running straight down the center. Nailing this is what separates a good look from a great one. And just like with the jacket, the secret is a specific order of operations, working from the small details outward.
This approach isn't just about being fussy; it's practical. By starting with the smaller areas, you create a smooth, wrinkle-free foundation. This way, you aren't accidentally pressing new wrinkles into the fabric as you work on the main event—the legs and that all-important crease.
Start from the Top: Waistband and Pockets
The first thing I always tackle is the pockets. Go ahead and pull them inside out so they lie flat on the ironing board. These are usually a simple cotton, so they can handle a bit more direct heat, but it’s still smart to stick to a medium setting. Getting them perfectly flat now prevents you from ironing a lumpy pocket outline onto the front of your trousers later.
From there, move on to the waistband. This is a job for the tip of your iron. Carefully guide it around the top edge of the trousers, maneuvering around the belt loops and buttons. Pressing this section creates a stable, smooth anchor, making the rest of the fabric much easier to manage.
Navigating Pleats and the Fly
If your trousers have pleats, they need a little finesse. Press each pleat one by one, following the natural fold from the waistband downward. Use your pressing cloth and apply pressure in short bursts. The goal is to sharpen the fold, not flatten it into an unnatural, stiff line.
Next, address the fabric around the fly. Be extra careful here. You want to press around the zipper and buttons, never directly on top of them. An iron's heat can easily melt a button or damage the teeth of a zipper, so just use the iron’s tip to smooth out the surrounding fabric.
The most common mistake I see is people rushing to create the crease. But a perfect crease can only be set on a perfectly flat foundation. If the top block of your trousers is even slightly wrinkled, the final result will always look messy, no matter how sharp your crease is.
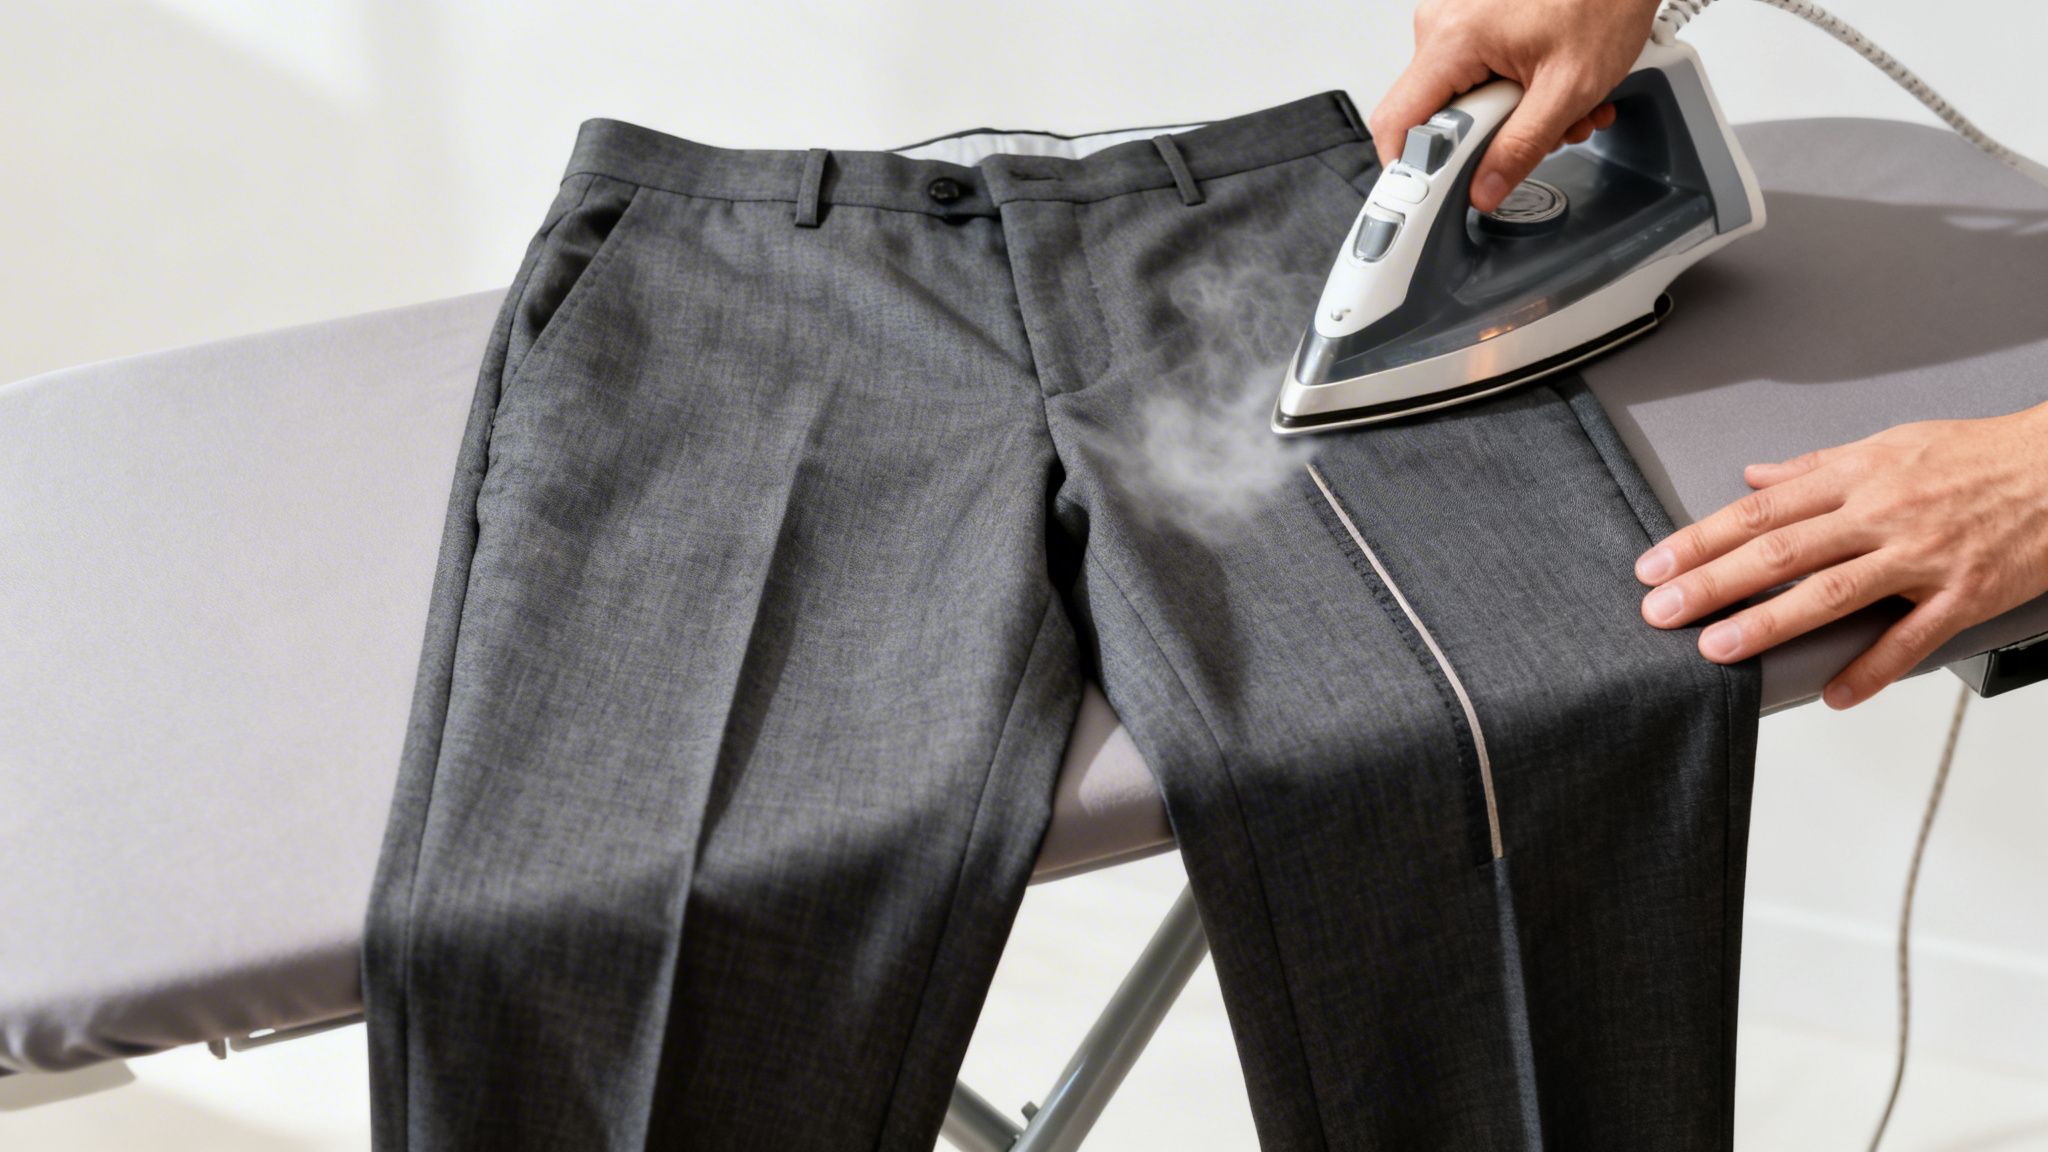
Setting That Perfect Trouser Crease
Alright, this is where the magic happens. The secret to a single, razor-sharp crease isn't about pressing harder; it's about aligning the leg seams perfectly. It feels a little awkward at first, but once you get the hang of it, you’ll get professional results every time.
- First, lay one trouser leg flat on the ironing board. Take a moment to smooth it out.
- Now, carefully adjust the fabric until the inner seam (inseam) is stacked directly on top of the outer seam (outseam). You might have to wiggle the fabric a bit. When they’re perfectly aligned, the leg is positioned correctly to create a single, straight crease.
- With the seams stacked, fold the top half of that leg back over the waistband, exposing the bottom half from the knee to the hem. Lightly mist the exposed section, cover it with your pressing cloth, and press firmly. You're setting the crease on the bottom half first.
- Now, fold the top half back down. Press the entire length of the leg, moving the iron smoothly from the hem up toward the hip. This motion locks in that one crisp crease on both the front and back of the leg.
Repeat this whole process for the other leg. Taking the time to align the seams is the one technique that truly separates an amateur job from a professional one when you’re learning how to iron a suit.
Finishing the Hems
As a final touch, give the bottom cuff of each leg a quick, firm press. This adds a little bit of weight and structure right at the hem, which helps the trousers hang and drape correctly when you wear them.
Once you’re done, hang the trousers immediately. The best way is to use a clamp hanger that grips them by the cuffs. Hanging them upside down lets gravity do the work, helping to maintain that sharp crease and preventing any new wrinkles from forming near the waistband. Let them cool down for at least 30 minutes before putting them on. This cooling-off period is critical for the fabric fibers to set in their new, crisp shape.
Given the precision it takes, many people find that professional pressing for trousers is a worthwhile investment. At Columbia Pike Laundry, our team has the specialized equipment and years of experience to set a perfect crease that lasts. If you want that flawless finish without the hassle, you can simply add pressing to your next laundry pickup and delivery order.
I've seen it a hundred times: a beautiful suit ruined by a few seconds of well-intentioned but misguided ironing. Learning what not to do is just as crucial as learning the right steps. A few common missteps can leave you with a shiny, scorched, or misshapen suit, and the damage is often permanent.
The biggest and most destructive mistake? Too much heat. Every fabric has a tipping point, and for fine wool, that point comes quickly. Excessive heat literally scorches the fibers, creating an ugly, permanent shine. Think of it like putting a plastic lid too close to a hot burner—the damage is instant and irreversible. Always, always start with a lower temperature and only increase it if absolutely necessary.
Don't Skip the Pressing Cloth
Ironing directly onto your suit fabric is asking for trouble. Even with a perfectly clean iron, the direct, concentrated heat is what causes that dreaded shine, especially on darker materials.
This is where a pressing cloth becomes your most important tool. It’s just a simple piece of 100% cotton that acts as a buffer, spreading the heat and steam evenly. It protects the suit's delicate fibers while still letting you smooth out the wrinkles. If you don't have one, a clean, plain white cotton tea towel or even a large handkerchief will do the job in a pinch.
Glide, Don't Press
It feels intuitive to press down hard on a stubborn wrinkle, but this is a huge mistake. Mashing the iron down crushes the fabric's natural texture, known as its "nap." This flattens the fibers and can make a brand-new suit look tired and worn out.
The correct technique is a gentle, gliding motion. Let the steam do the heavy lifting. The hot moisture relaxes the fibers, and the weight of the iron is more than enough to smooth them out as you glide over the pressing cloth.
Never Iron a Dirty Suit
This one is subtle but incredibly important. Ironing a suit with small, even invisible, stains is like setting a trap. The heat from your iron will essentially "cook" any oils, sugars, or dirt right into the fabric, turning a small, removable spot into a permanent blemish.
Before you even think about plugging in the iron, give the suit a quick once-over to make sure it's completely clean.
You'd be surprised how many suits are damaged this way. In fact, textile studies show that improper home ironing ruins about 22% of suits each year, mostly from heat over 300°F on wool. It’s also interesting to see how household chores have changed. Today, nearly 70% of married couples either share or outsource their ironing, a massive shift from the 1990s when women did over 80% of it. You can see more on these trends in the Cognitive Market Research report.
If you're using a service like ours, just be sure to put your suit in a separate, clearly marked bag for pickup. We’ll know to give it the specialized care it needs. And don't worry—if it gets wrinkled on the way, we offer free re-pressing to make sure it's returned to you in perfect condition.
When to Outsource to a Professional
Knowing how to press your own suit is a fantastic skill to have in your back pocket. But part of being smart is knowing when to call in the experts. While a quick press at home is perfect for routine maintenance, some situations absolutely demand a professional touch to protect your suit and ensure you look your best.
Think of it this way: you might be a great home cook, but for a milestone anniversary, you’re probably booking a reservation with a top chef. Professional suit pressing follows the same logic. It’s about choosing the right tool for the job to give your most important garments the specialized care they truly need.
When Your Fabric Demands an Expert
The first and most important thing to consider is the material. You can handle most wool or cotton-blend suits at home with a bit of care, but some fabrics are incredibly unforgiving and just not worth the risk.
- Velvet or Velour: These fabrics have a delicate pile that an iron will instantly crush. I’ve seen it happen—you end up with shiny, bald patches that permanently ruin the look.
- Silk or Linen Blends: Both are notorious for scorching in a heartbeat. A professional uses equipment that delivers steam and pressure with a precision your home iron just can't match.
- Heavily Structured or Padded Suits: A high-quality suit with real canvassing and built-up shoulder pads needs to be pressed on a tailor's ham and other specialized forms. Trying to do this on a flat ironing board will distort its shape and ruin the fit.
Attempting to iron these materials without the right gear is a gamble. One small mistake can cause irreversible damage, turning a beautiful garment into a very expensive lesson.
For Deep Wrinkles and Special Occasions
Sometimes the fabric isn't the issue, but the condition of the suit is. If your suit has been shoved in a suitcase for a long flight or stored improperly, it can develop deep-set creases that a home iron simply doesn’t have the power to remove.
Entrusting your suit to a professional isn't a luxury; it's a practical tool for busy professionals. It guarantees a high-quality finish and provides peace of mind, knowing a valuable garment is in the hands of experts who understand fabric care.
This is especially true before a huge event—a wedding, a critical job interview, or a big presentation. The last thing you want is the stress of a last-minute ironing disaster. Handing it off to a pro means you get a flawless result with zero risk. You can dive deeper into best practices for suit care in our guide on how to properly dry clean a suit.
The Business of Pressing
This isn't just a personal choice; it’s a massive trend in the business world, too. The market for commercial ironers is set to reach an incredible USD 1.22 billion by 2026. In big cities, about 60% of small businesses and hotels now outsource their suit pressing, which saves them an estimated 15-20% compared to handling it in-house. You can see more on this growing market on Research and Markets.
For busy Arlington professionals and families, the same logic holds true. Professional pressing buys you back your most valuable resource: time.
Ultimately, knowing how to iron a suit also means knowing when to step away from the ironing board. For your everyday work suits, a careful press at home is great. But for your delicate fabrics, high-value suits, and can't-fail special occasions, professional pressing is the smartest move you can make. It protects your investment and delivers a level of crisp perfection that’s tough to achieve on your own.
At Columbia Pike Laundry, we know your time is your most valuable asset. We’re not just doing your laundry; we’re giving you back your weekend. Our professional pressing and dry cleaning services ensure your suits are impeccably cared for, with convenient pickup and delivery across Arlington, Alexandria, and DC. Let us handle the details, so you can focus on what truly matters. Reclaim your time and restore your rhythm by scheduling your first pickup at https://columbiapikelaundry.com.
Free pickup, expert care, delivered back to your door.
Popular Blog Articles


Meet the Author
Daniel Logan didn’t start CPL because he loved laundry. He started it because his family was drowning in time debt, and laundry was one of the biggest weights.
Mornings were chaos with two kids under 5. Evenings felt like catch-up. And weekends? Gone to sorting socks and folding piles.
He knew his story wasn’t unique. So he built a business that gave families like his just a little bit of breathing room one load at a time.
With no laundry experience but deep tech skills, Daniel rolled up his sleeves, doing every job himself while building systems that turned it into a modern laundry service that saves customers time, simplifies their lives, and delivers reliability they can count on.
That’s where CPL began. Not from a playbook, but from pain. From one dad trying to buy back time: for himself, and for every household like his.
Free pickup, expert care, delivered back to your door.